
Cyanotype on Holiday
Capture your vacation vibes.
Creating cyanotypes (sun prints) with plants from other areas is such a fabulous way to capture the essence of your vacation. This is a portable art project but homework is required. You can make cyanotype prints on any natural surface. I took watercolour paper and fabric on my trip to the Big Island and used it to reproduce all the glorious greenery that surrounded me everyday.
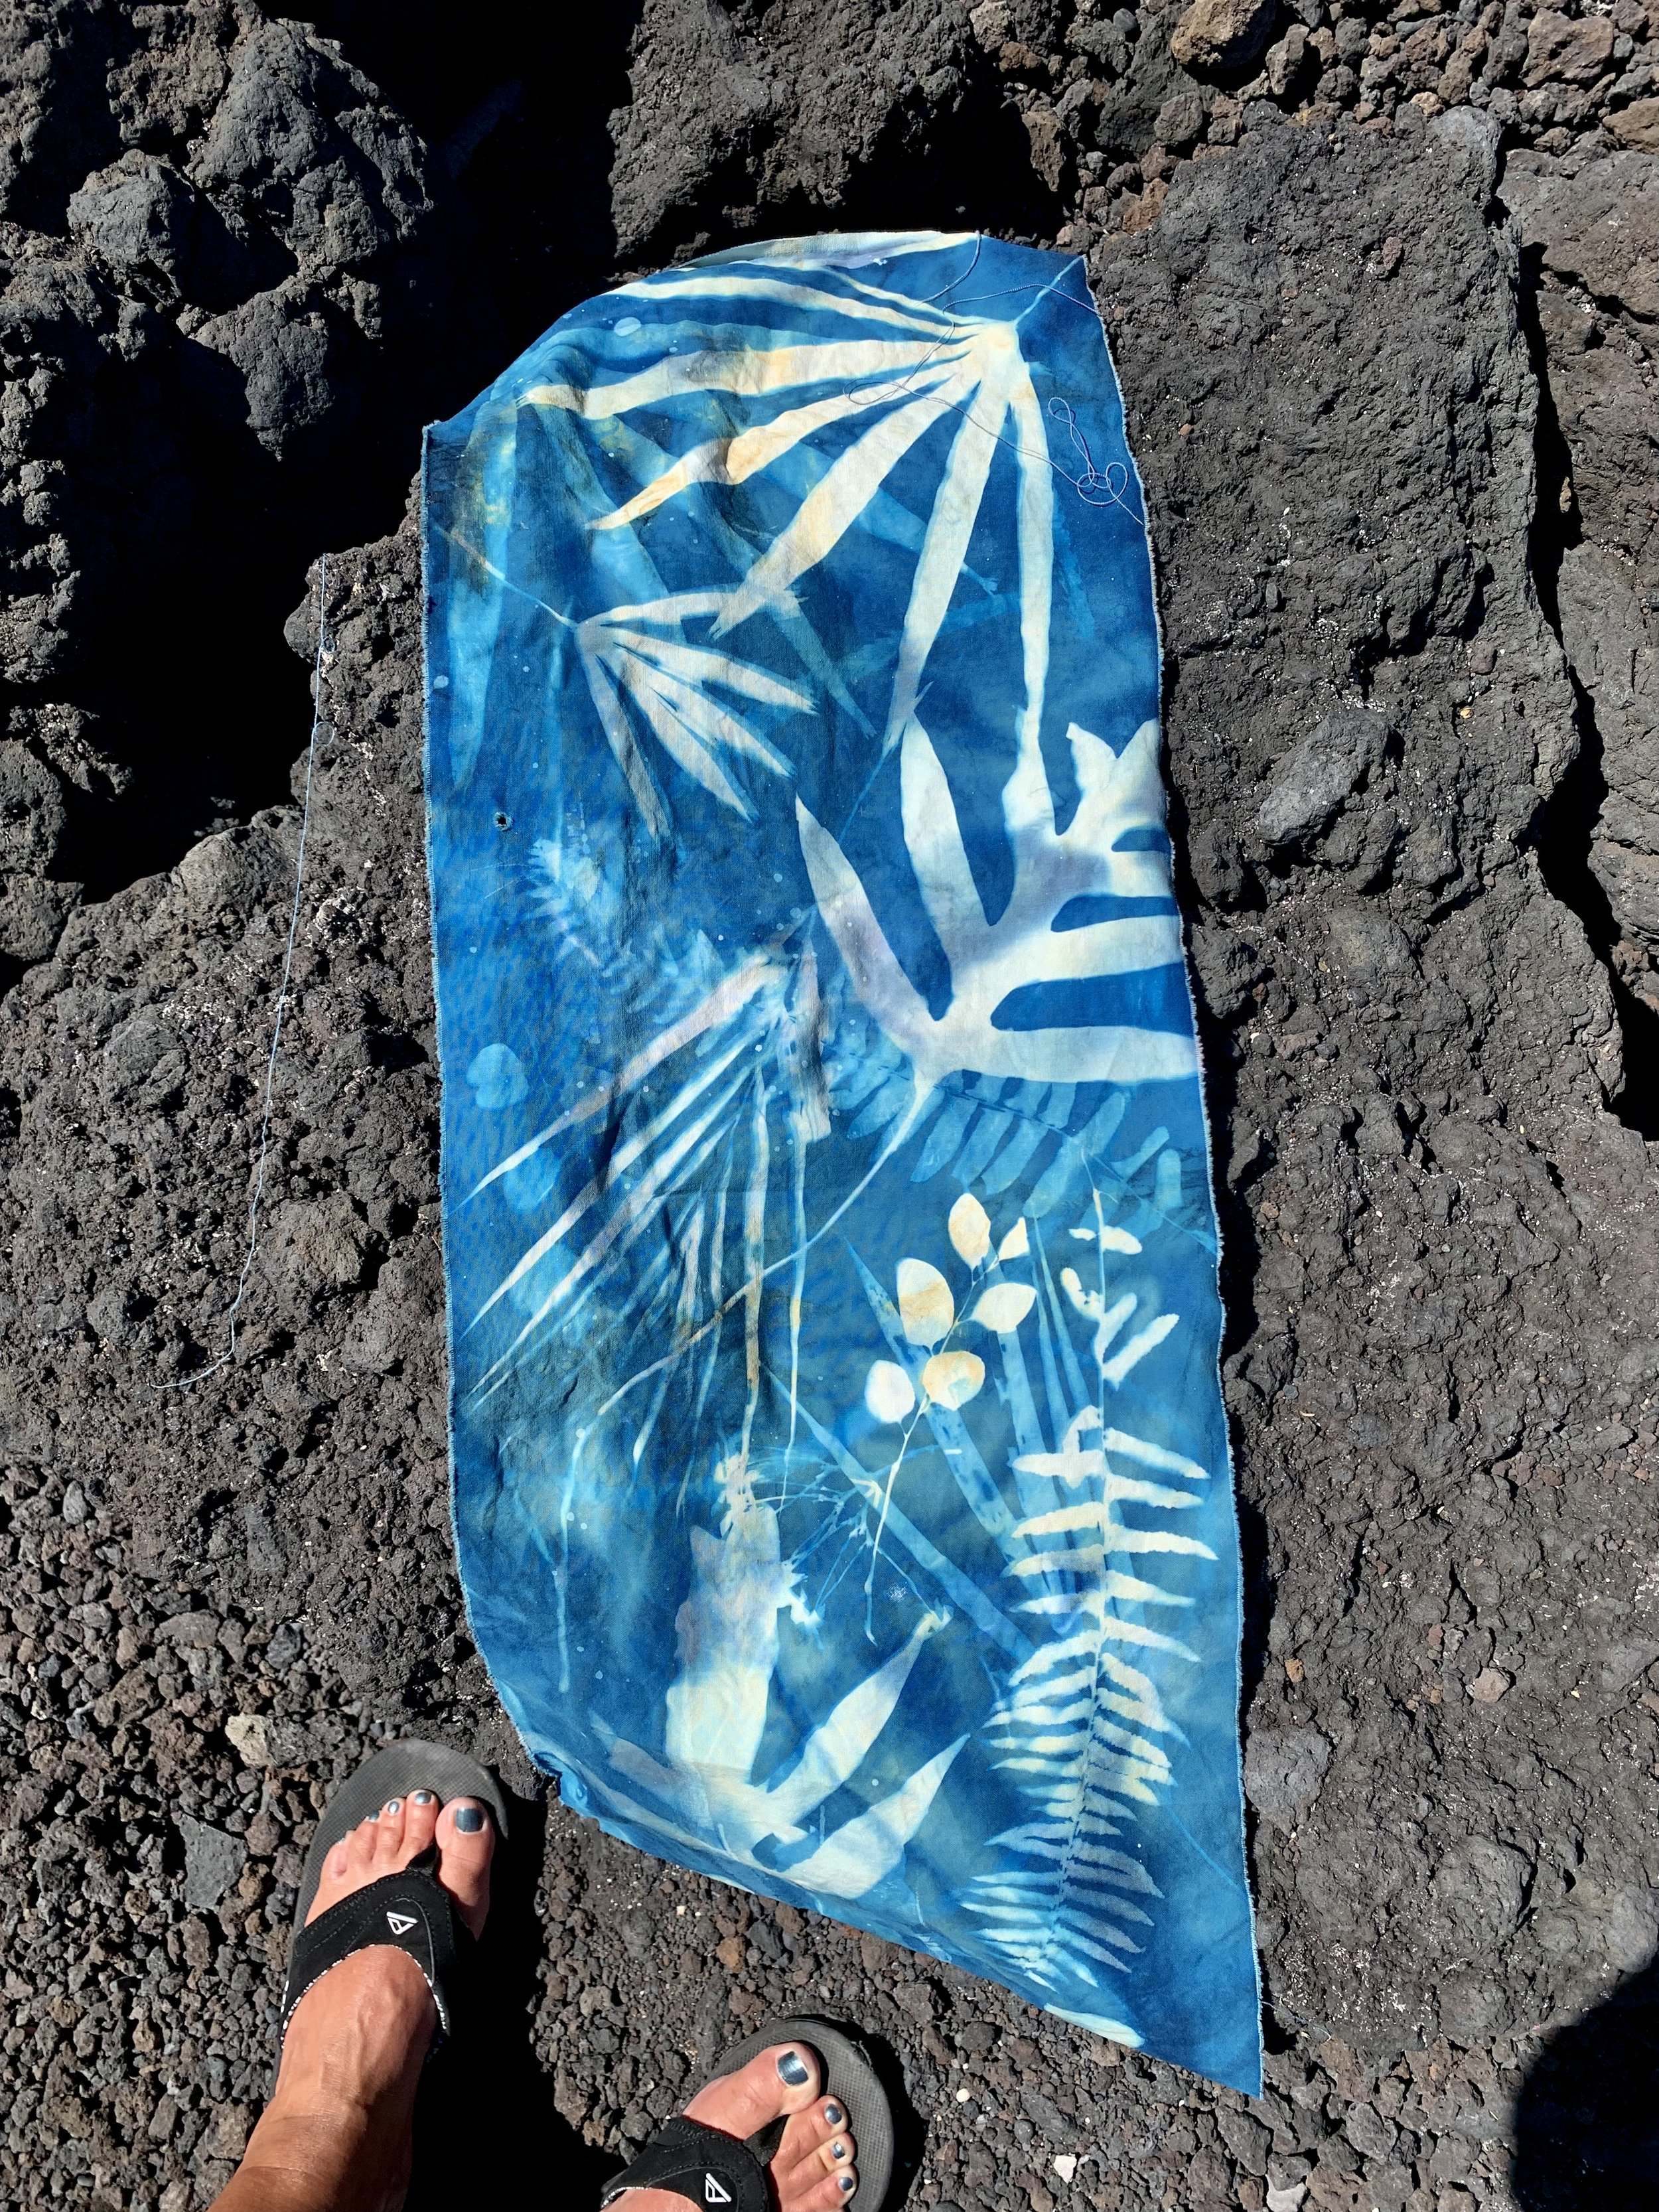
I captured the Kona forest on this piece of fabric. It’s a vintage bed sheet treated with cyanotype solution. Big Island, Hawaii. March 2023.
Supplies: what I took on my vacation.
I packed: papers prepared with cyanotype solution (I also prepared silk scarves and a piece of fabric); two pieces of plexiglass (9x11); and 4 bull clips. Once in Hawaii I collected foliage.
A word about plexiglass. I read recently that plexiglass may block some UV light and alter the boldness of the blue colour that you get after rinsing. I have not tested this theory. Traveling with glass is not an option so I use the plexiglass. My prints are a paler blue but I’m not sure to what degree the plexiglass impacts the results. My fabric still turned a bright blue.
Pre-vacation prep.
I use Jacquard Cyanotype Sensitizer. The kit contains two chemicals – Part A Potassium Ferricyanide and Part B Ferric Ammonium Citrate. You add water to the powders, let them dissolve and then mix them together. The combined solution is applied to your surface and allowed to dry.
The directions say to process your surfaces (exposing to UV light) within 24 hours but I have had good luck using my surfaces within several weeks. I don’t always get dark a blue but I still get good results.
You need to keep exposed papers and fabric away from sunlight.
Solution needs to be dissolve for a few hours before you add it to your paper. I prep my papers 2-3 days before I leave on my trip. Let your papers dry in dark area and then store in a sturdy large envelope. Be sure to pack this out of the light you don’t want to risk exposure. When packing this envelope I make sure it’s in a spot that won’t get bent. For example, the outside pocket on my suitcase or the back pocket in my backpack where I pack my iPad.
Creating your cyanotype.
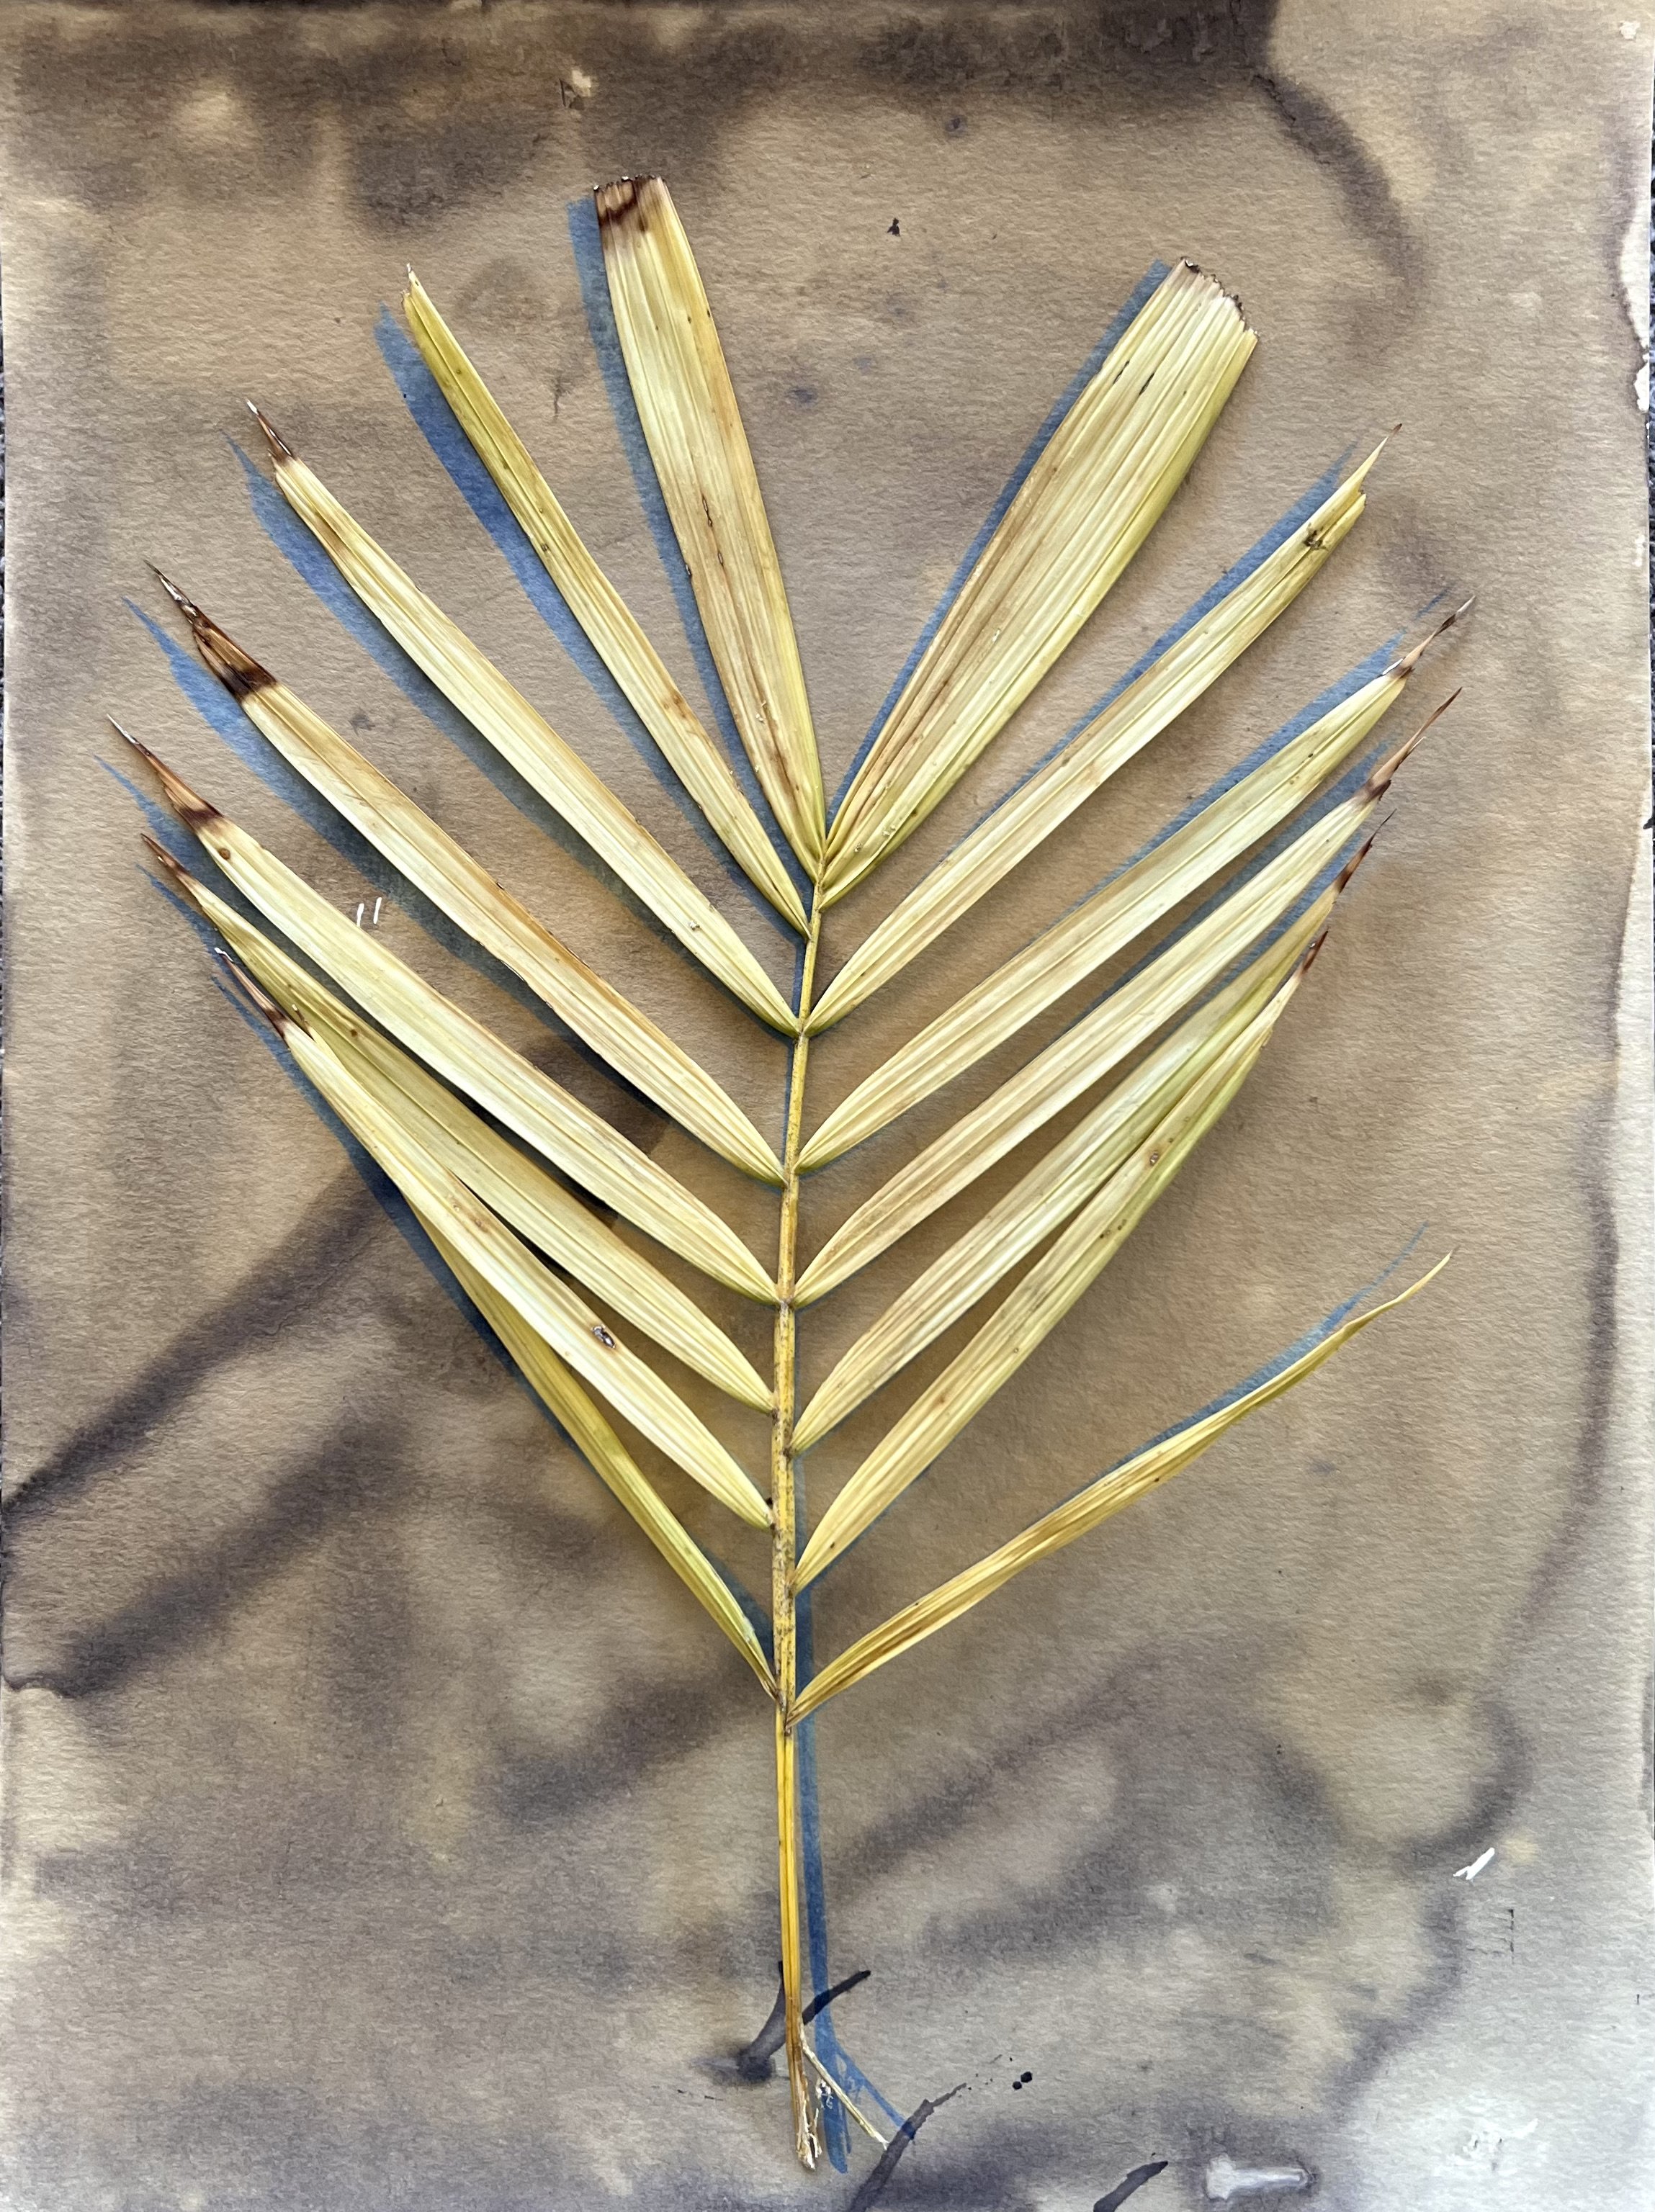
The first thing you need to do is forage for leaves and flowers. Look for unique shaped edges. I love Monstera plants but I find the leaves are too big and don’t offer a lot of interests once printed. Be on the look out for old dried leaves and palm tree branches too.

Laua’e leaves and ferns are some of my favourite to use in my cyanotypes.
Once you’ve collected your plant material you will need to work in a space without sunlight. You don’t need to be in the dark, just close the curtains and stay out of direct light.
I audition the botanicals on the back side of my prepared papers to determine the best arrangement. I leave spaces between denser leaves so that I get the contrast between white and blue.
Once you’ve decided on placement, flip your paper over, so the side with the cyanotype solution is face up. Lay out your leaves and flowers. Cover the arrangement with a piece of plexiglass. Use bull clips to clamp down the plexiglass and flatten the plant material.
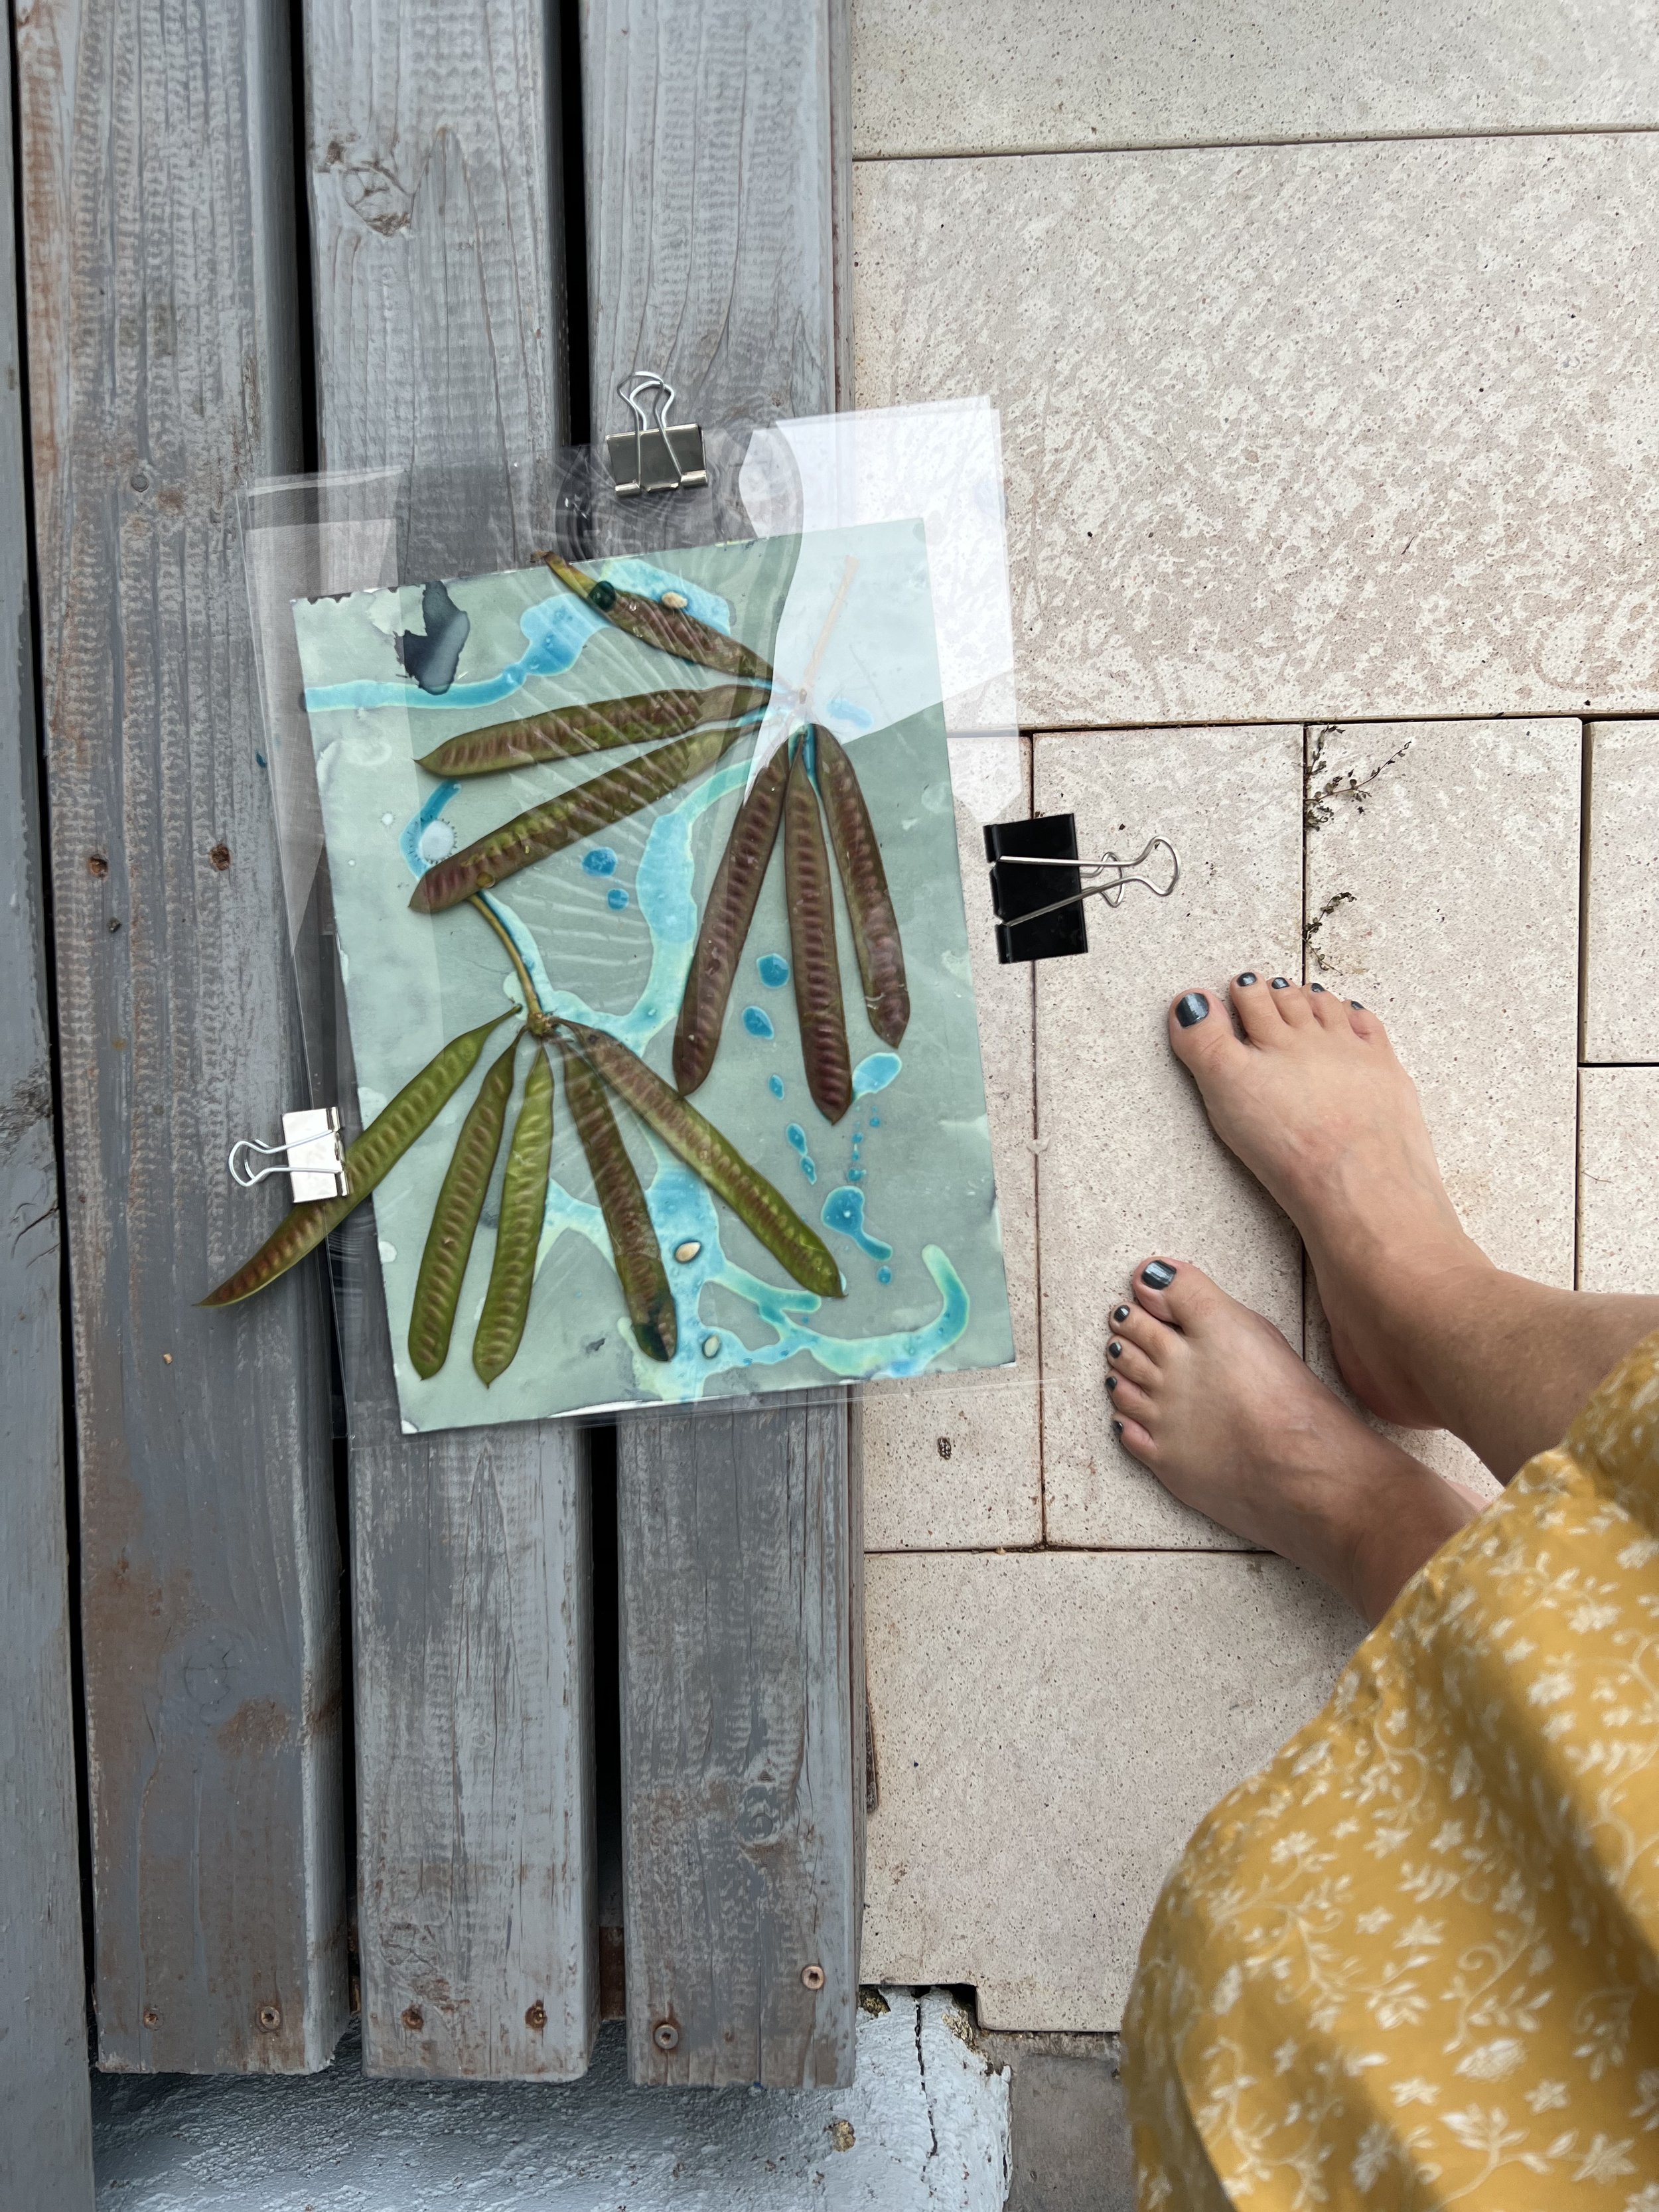
Cyanotype on vacation. Secure your art with plexiglass and bull clips.

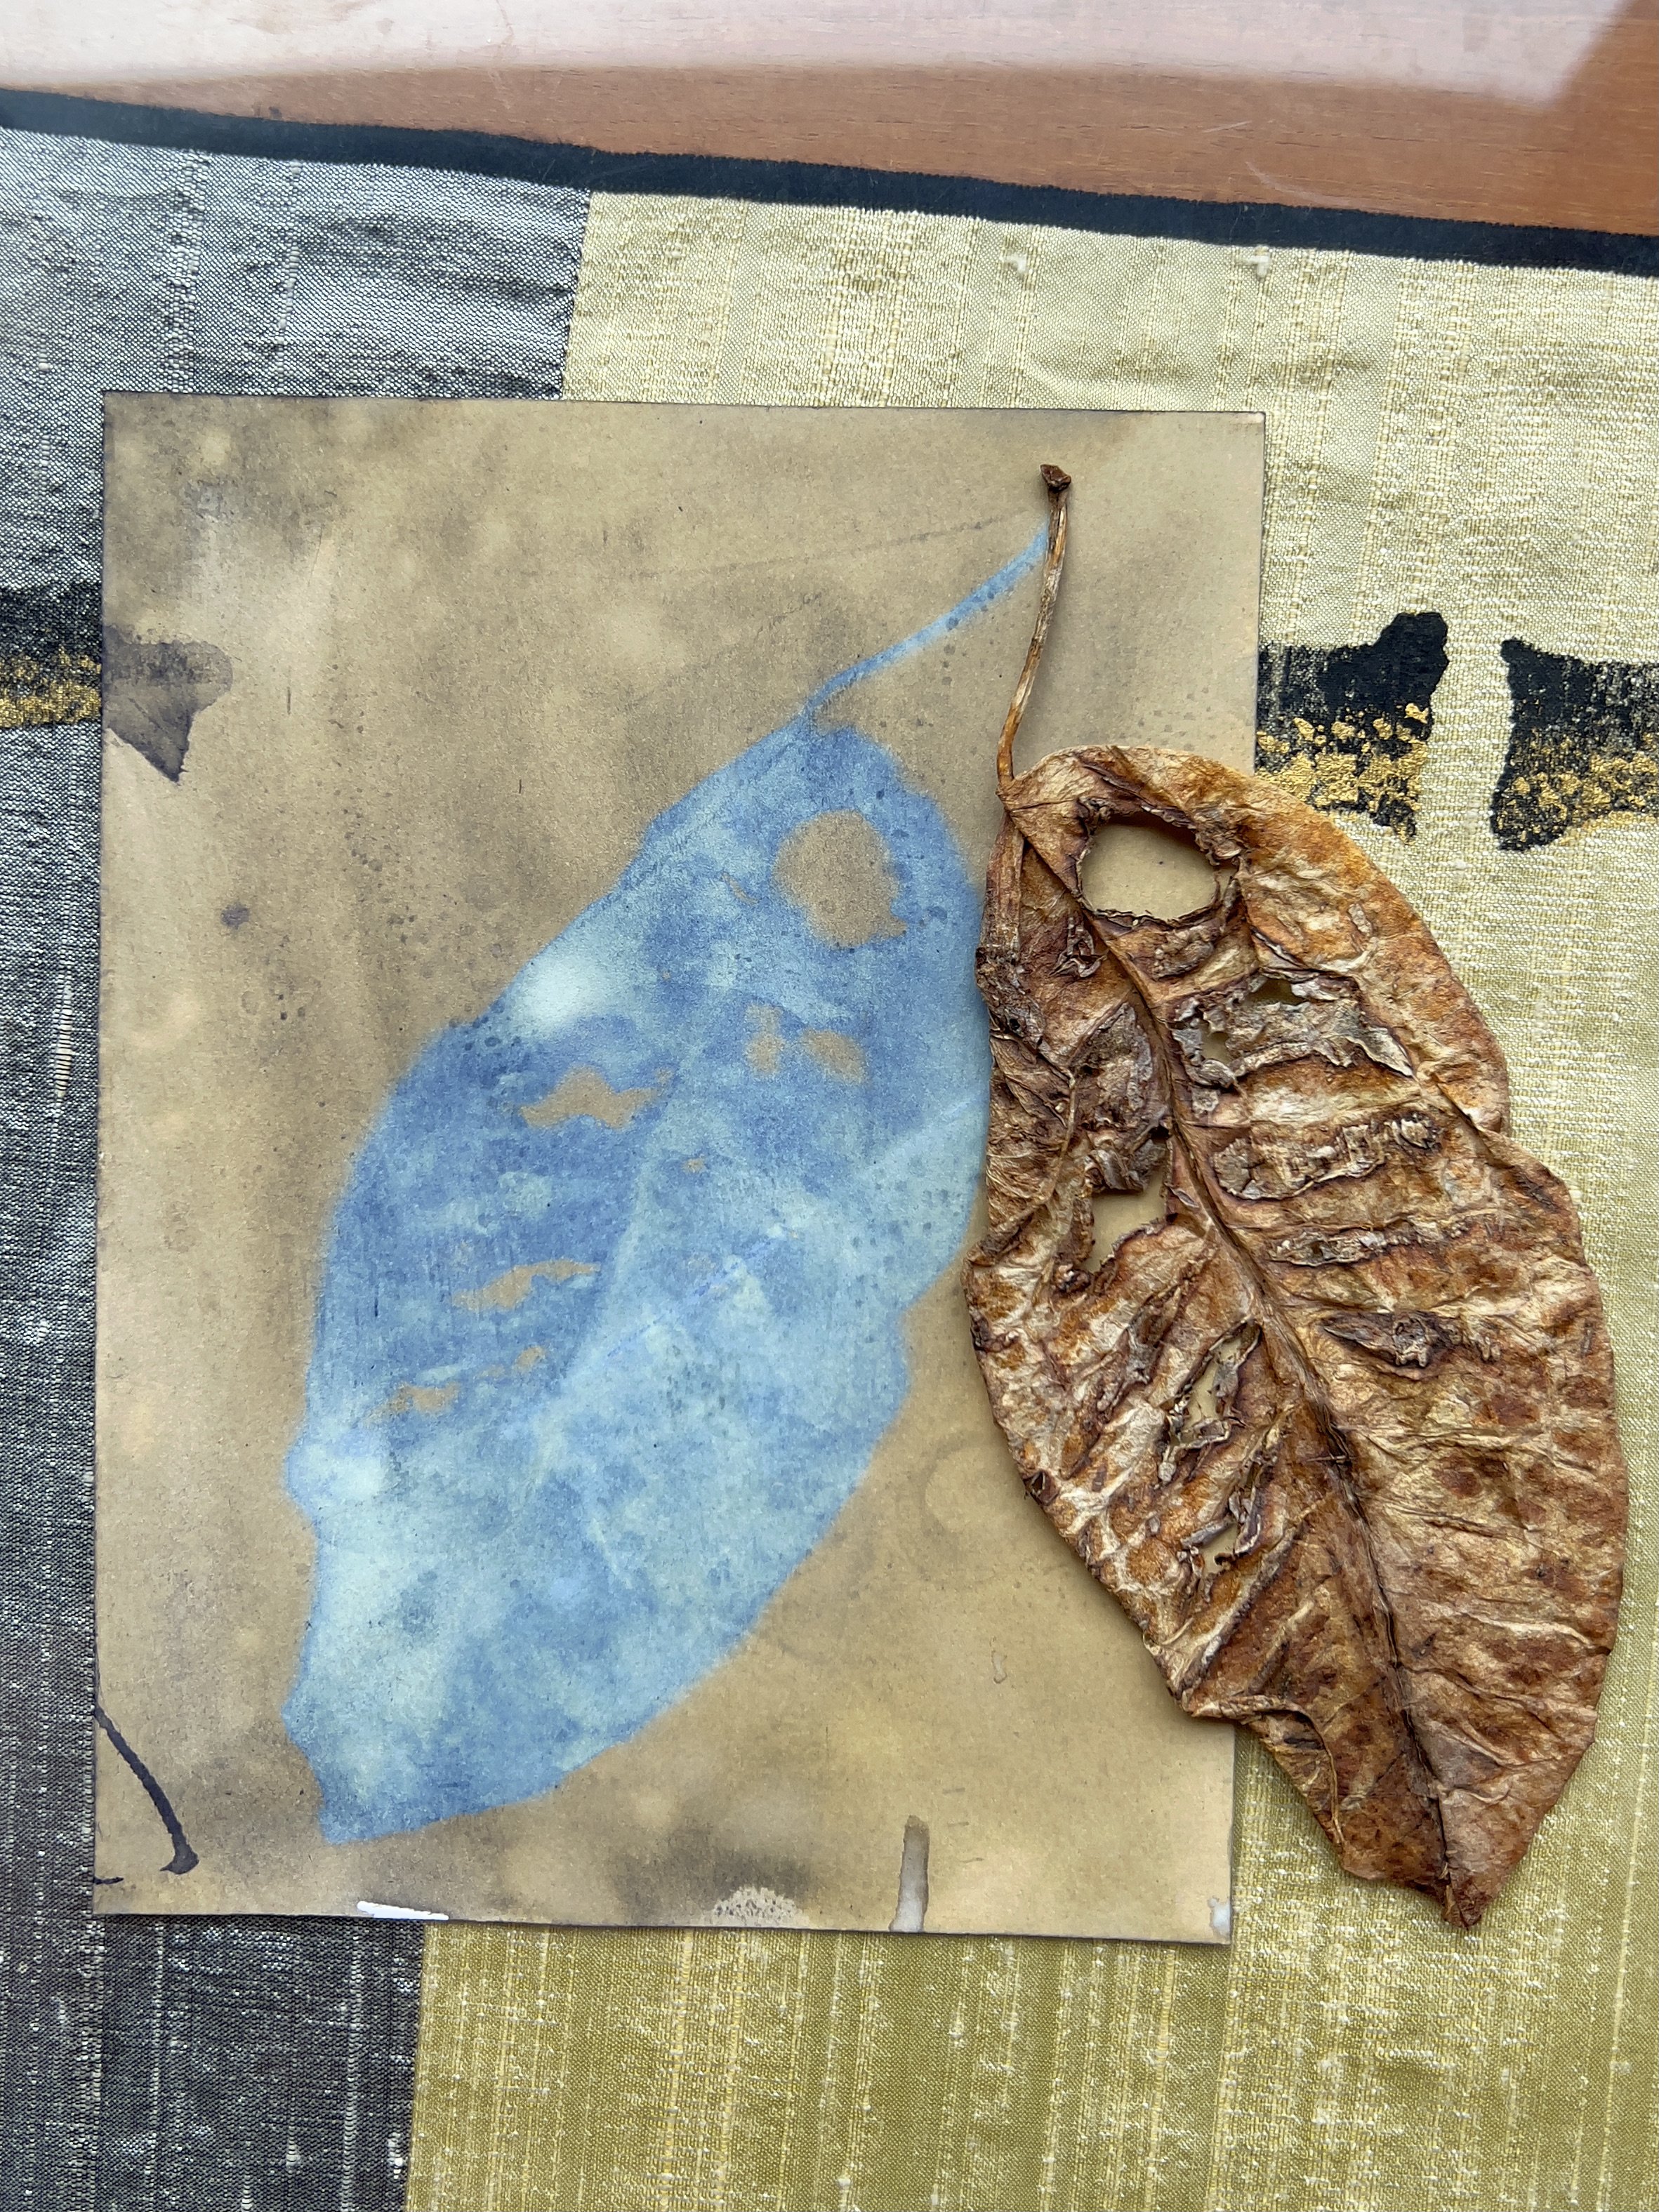

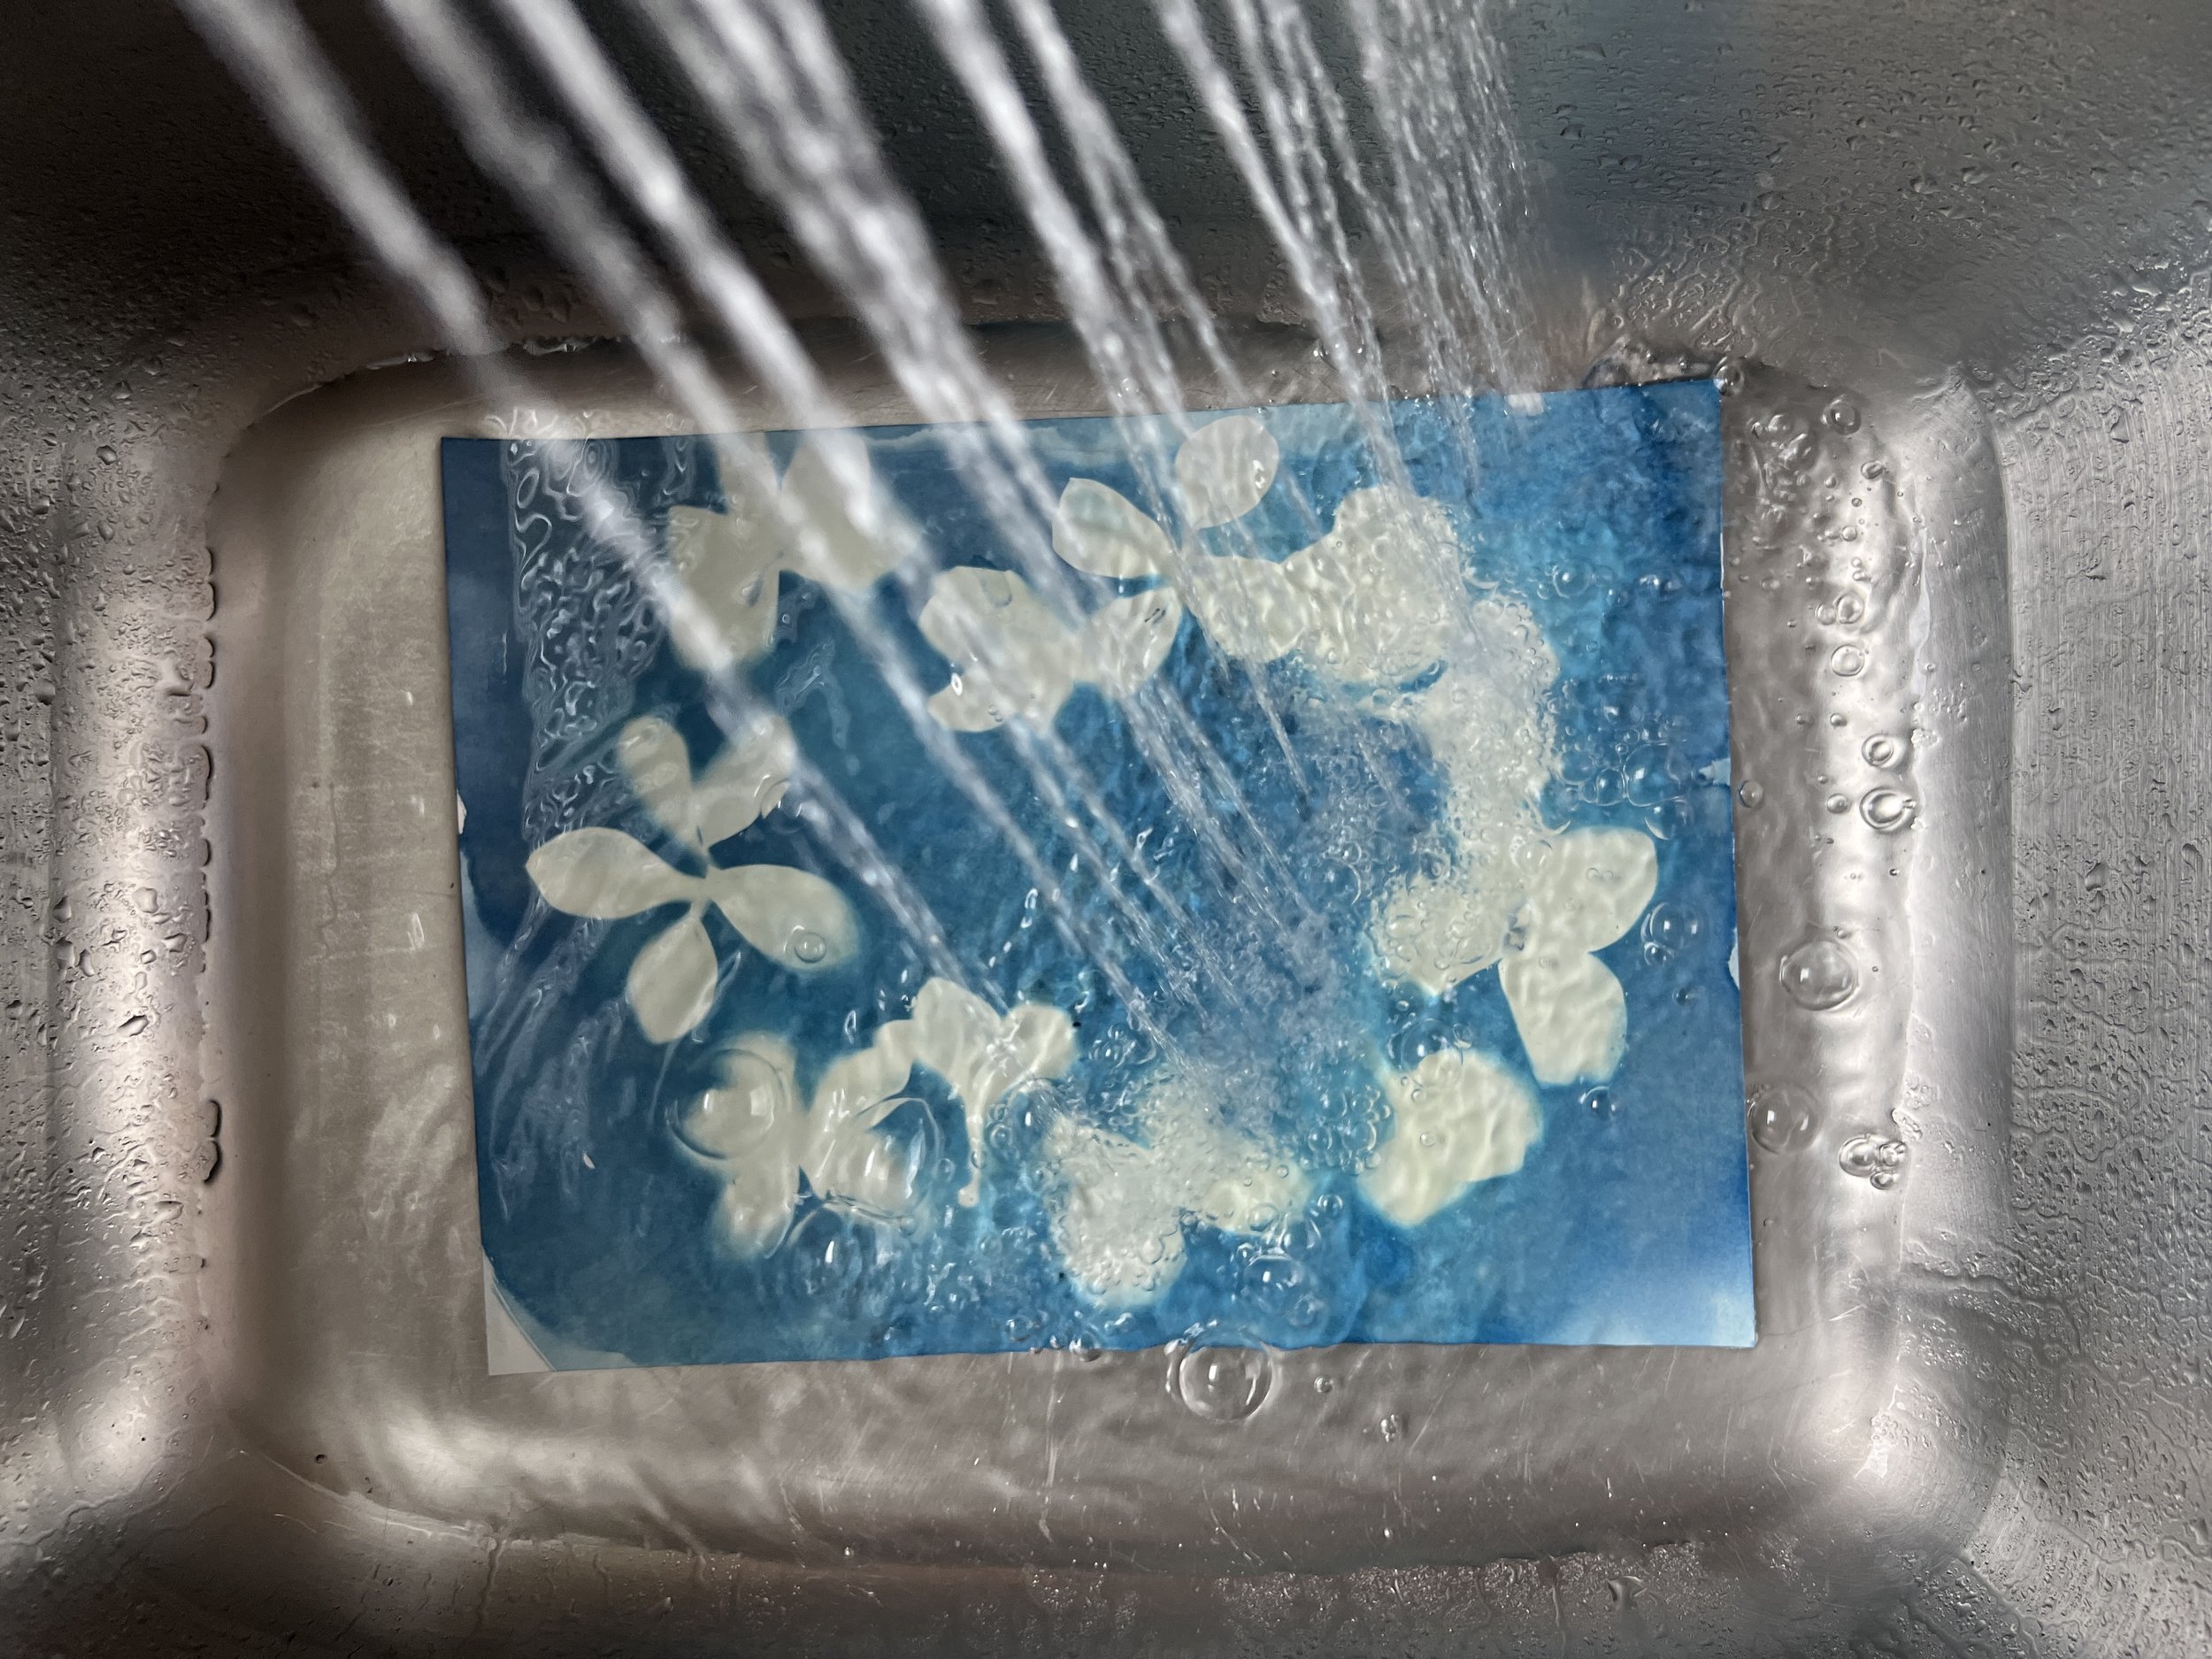
Exposure time will vary depending on where you are, cloud coverage, temperature and humidity. Once it turns brown you can remove the plant material and then rinse in water for 2- 5 minutes. More fragile papers can’t withstand a long soak so be sure to watch your papers.
I hang them to dry or lay flat on towels. It takes 24 hours for the piece to cure completely. It will get bluer over the next few hours. The area where the plant was will turn white.


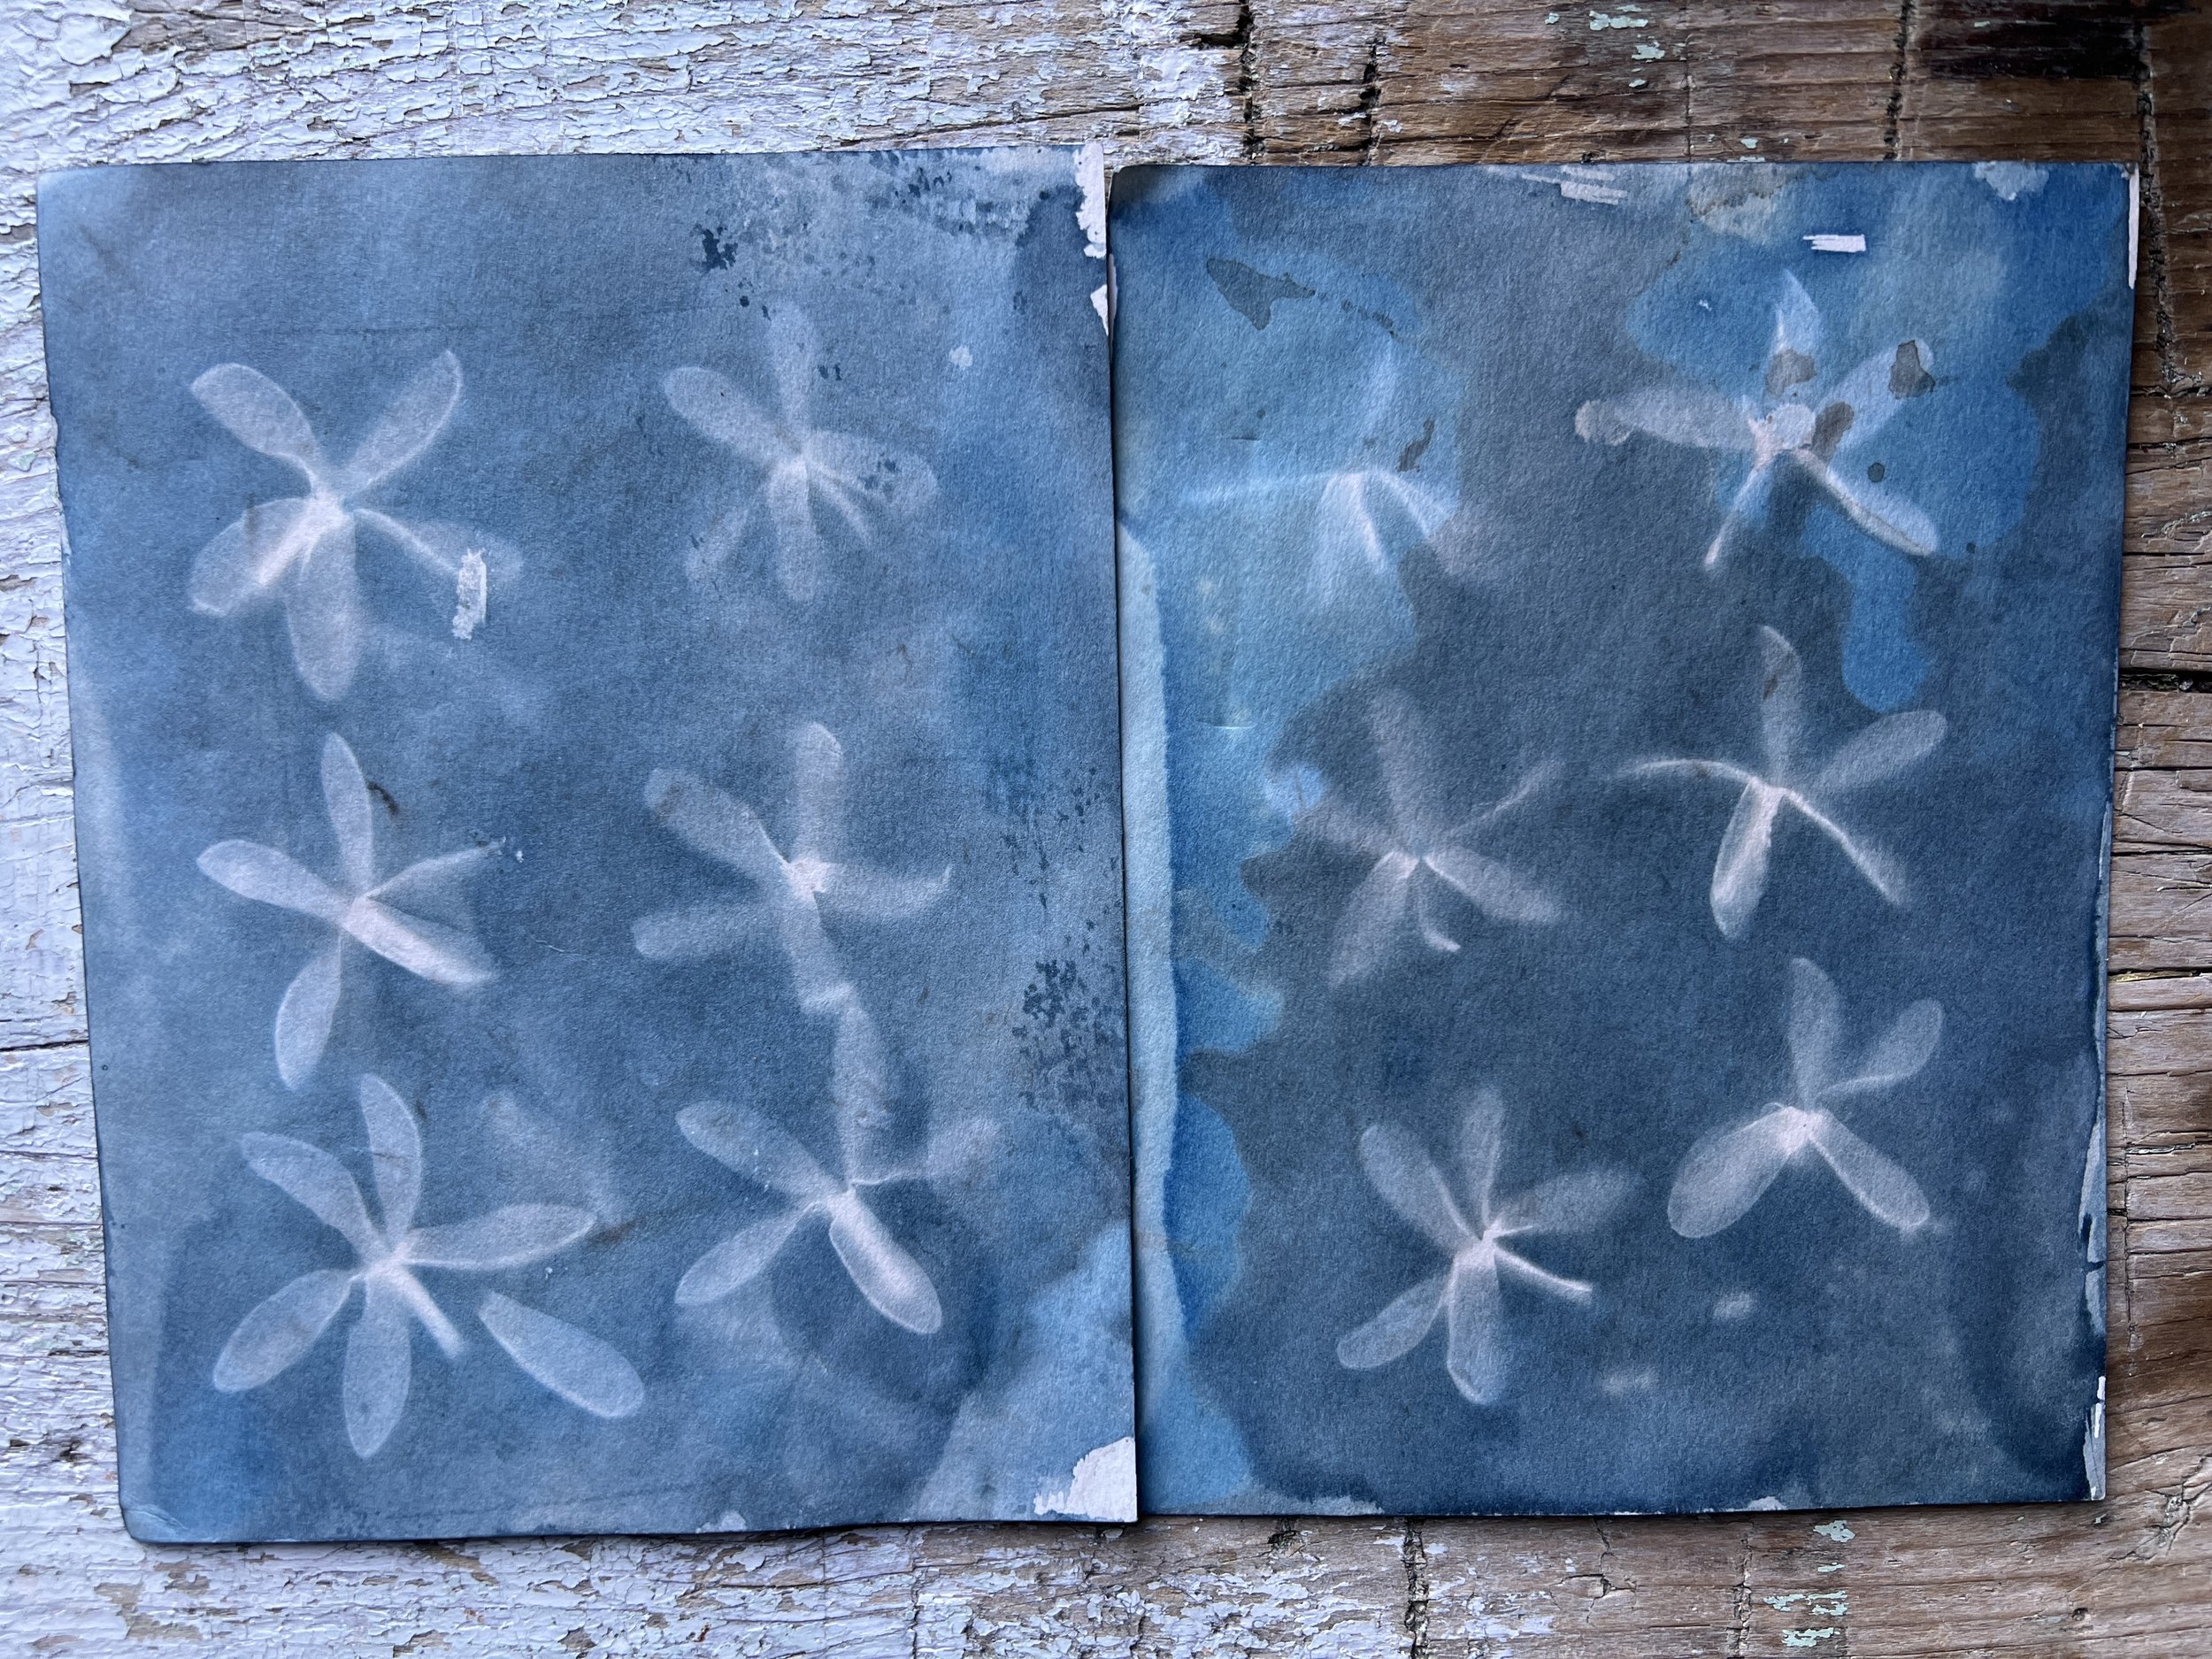
I love looking at all the prints that I made in Hawaii, it immediately takes me back to those Aloha moments. Below is a quick video highlighting a print I made with the Haole pods. Let me know if you decide to do some cyanotype printing on your vacation. To see more of my vacation art, check out my instagram @engelbelle. Aloha!